How to properly clean headphone earcups is crucial for maintaining their longevity and preventing the build-up of dirt and grime. Different headphone types and materials require specific cleaning methods to avoid damage. This guide covers everything from essential supplies to advanced cleaning techniques, ensuring your headphones stay pristine and sound their best.
This comprehensive guide will walk you through the essential steps for effectively cleaning your headphone earcups. We’ll explore various materials, from delicate leather to sturdy plastic, and provide tailored cleaning methods for each. Learn how to identify and tackle common cleaning challenges, and discover simple maintenance tips to keep your headphones in top condition for years to come.
Introduction to Headphone Earcup Cleaning: How To Properly Clean Headphone Earcups
Maintaining clean headphone earcups is crucial for both the longevity of your headphones and your personal well-being. Regular cleaning prevents the buildup of dirt, debris, and potentially harmful microorganisms that can accumulate within the earcups over time. This buildup can negatively impact audio quality, leading to muffled sounds or distorted frequencies.Neglecting earcup hygiene can result in a diminished listening experience, potentially leading to discomfort and even health concerns, particularly if the accumulated debris harbors bacteria.
This is especially important for individuals prone to ear infections or sensitivities. Furthermore, grime and dirt can cause the earcups to wear down faster, requiring premature replacement and leading to increased expenditure over time.
Headphone Types and Earcup Materials
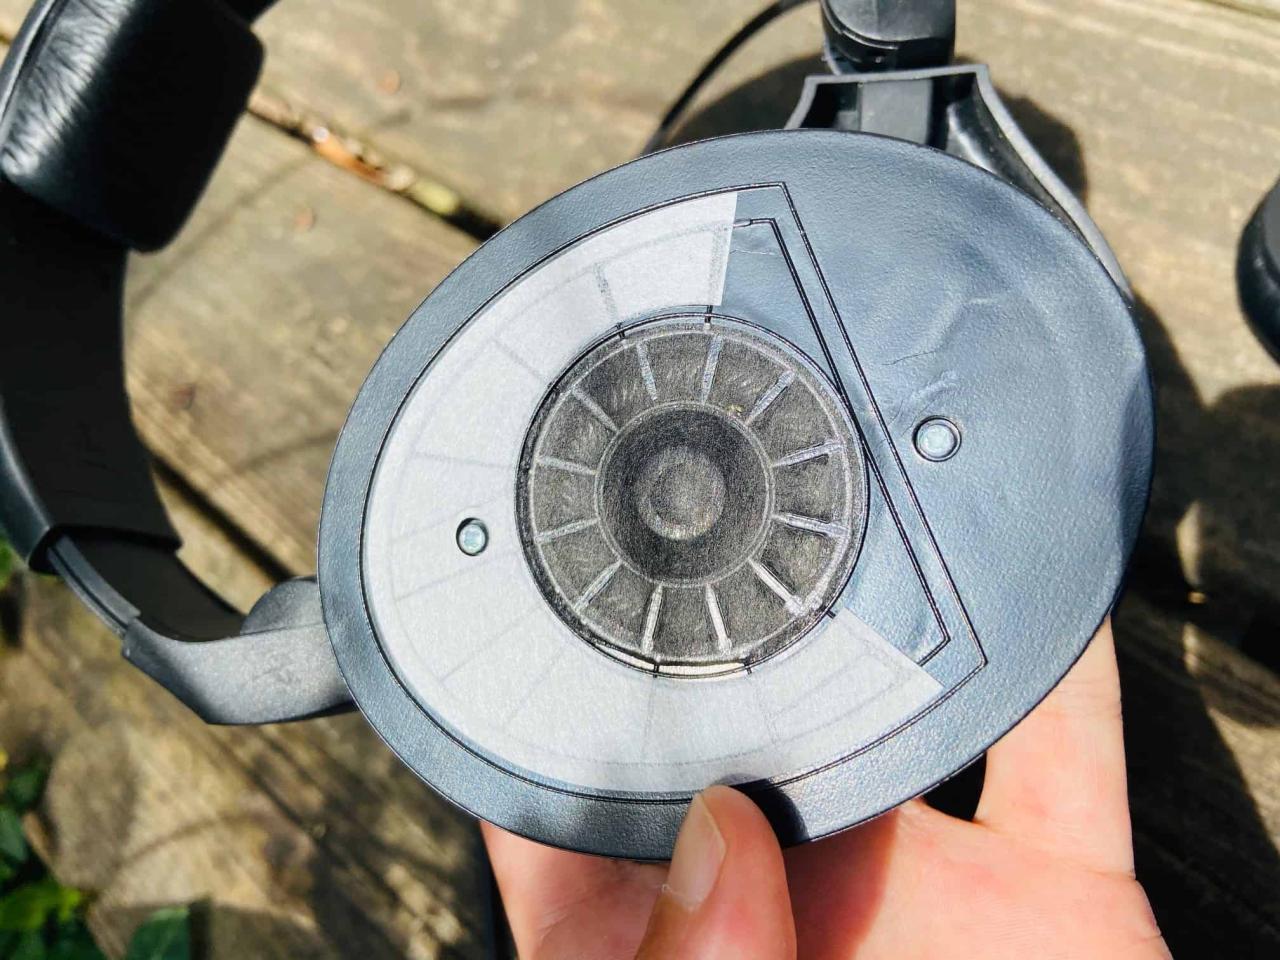
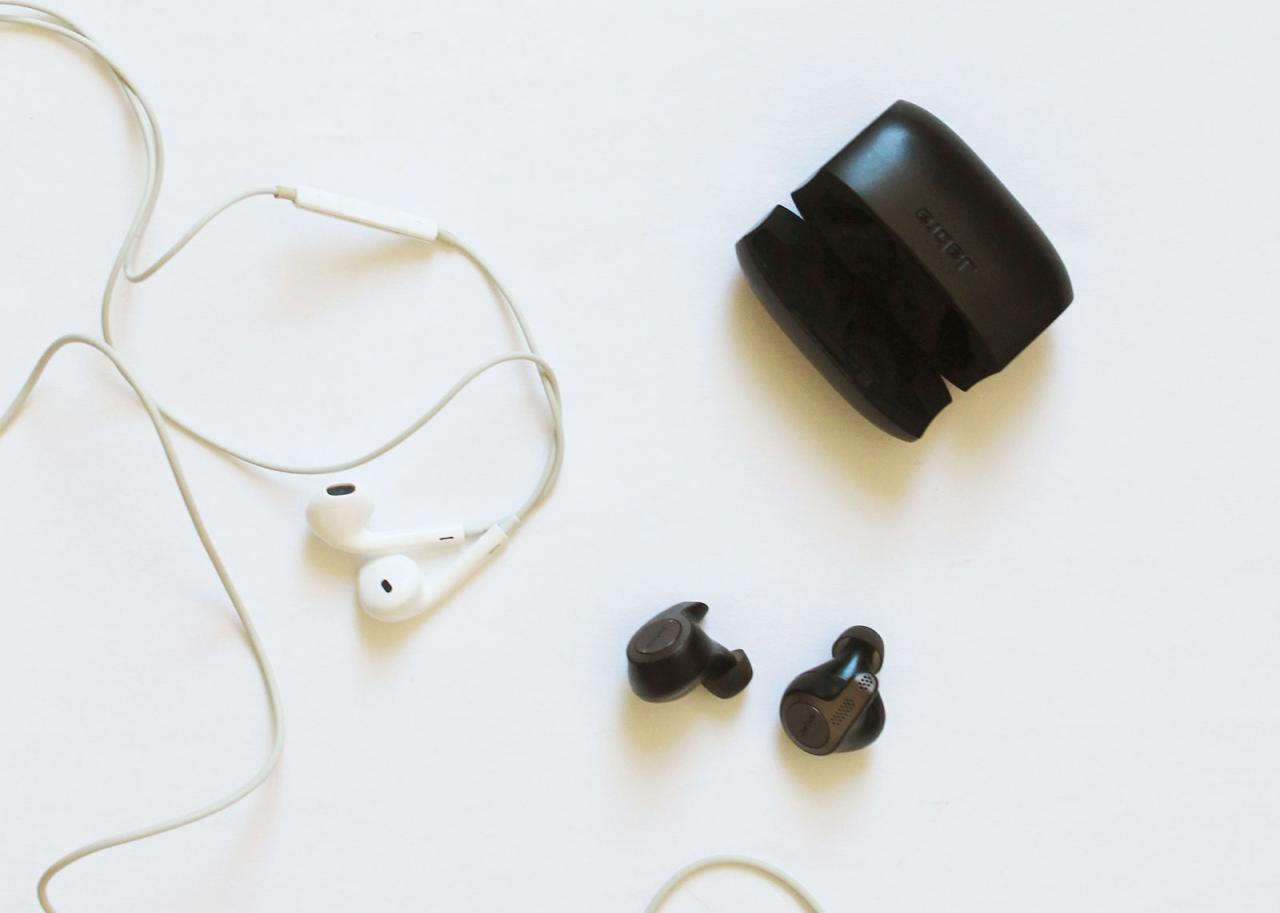
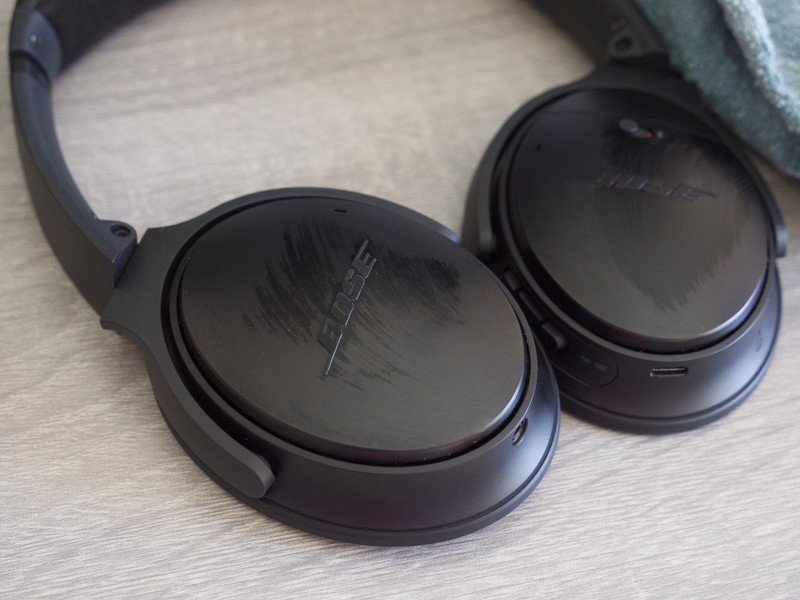
Headphones come in various styles and designs, each with its own unique earcup material. Understanding these materials is essential for selecting the appropriate cleaning method. Common headphone types include on-ear, over-ear, and in-ear headphones. On-ear headphones typically feature plastic or metal earcups, while over-ear models often incorporate leather or synthetic leather, along with plastic components. In-ear headphones generally utilize a mix of plastic and rubber materials for their earpieces.
The diverse material combinations highlight the importance of tailored cleaning procedures.
Appropriate Cleaning Methods for Different Materials
The cleaning method should always be tailored to the specific material of the earcups. Using unsuitable cleaning agents or methods can damage the headphone’s delicate components. For plastic earcups, a soft, damp cloth or a slightly dampened cotton swab is usually sufficient. Avoid harsh chemicals or abrasive cleaners, as these can scratch the plastic surface or damage the internal components.Metal earcups, like those found in many on-ear models, can be cleaned with a soft, damp cloth and a mild dish soap solution.
Ensure the solution is diluted to prevent any potential damage from the chemical components.Leather or synthetic leather earcups, often present in over-ear headphones, require a different approach. A soft, dry cloth or a slightly damp, microfiber cloth is typically recommended. Avoid harsh chemicals or excessive moisture, as these can damage the leather’s structure or cause it to warp.
For stubborn stains, consult the manufacturer’s recommendations for specific cleaning solutions.
Cleaning Solutions and Precautions
A gentle approach is crucial for cleaning delicate components like the headphone’s internal mechanisms. Avoid using harsh chemicals, abrasives, or excessive water. Diluted mild dish soap solutions are generally safe for plastic and metal earcups. For leather or synthetic leather, use a specialist leather cleaner or a gentle soap solution specifically designed for these materials.Always test any cleaning solution on an inconspicuous area of the earcup first to ensure compatibility and prevent any unintended damage.
Avoid using compressed air or strong solvents as these can potentially harm the internal workings of the headphones. Thoroughly dry the earcups after cleaning to prevent moisture damage or mold growth.
Gathering Necessary Supplies
Proper headphone earcup cleaning hinges on selecting the right tools. Choosing appropriate supplies ensures a thorough yet gentle cleaning process, preserving the headphones’ longevity and preventing damage. Carefully curated cleaning supplies will effectively address various cleaning needs.
Essential Cleaning Supplies
A well-stocked cleaning arsenal will equip you to handle various earcup grime situations. The following supplies, categorized by their function, are crucial for a successful cleaning session.
Proper headphone earcup cleaning is key, regardless of the model. A soft, slightly damp cloth is ideal for wiping away dust and debris. Consider the potential price variations for Bose headphones, which can differ significantly depending on the retailer ( Bose Headphone Price Variations & ). After all, maintaining your headphones’ pristine condition is important for longevity, no matter the cost.
Microfiber Cloths
Microfiber cloths are excellent for general cleaning. Their fine fibers effectively lift dust, dirt, and debris from the earcups’ surface without scratching the delicate materials. Their soft texture prevents scratching or marring, ideal for maintaining the aesthetic appeal of the headphones. The absorbent nature of microfiber allows for quick drying, reducing the risk of moisture damage.
Cotton Swabs
Cotton swabs are helpful for reaching small crevices and cleaning hard-to-reach areas around the earcups’ seams or inside the earcups’ cavities. However, use cotton swabs with extreme caution, as excessive pressure can damage the headphone’s delicate components or push debris further into the device. Cotton swabs should be used sparingly, and pressure should be kept to a minimum.
Isopropyl Alcohol (70% or higher)
Isopropyl alcohol, at a concentration of 70% or higher, is a powerful cleaning agent for tackling stubborn stains and grime. Its solvent properties effectively dissolve oil and grease deposits. However, it’s essential to apply alcohol sparingly and avoid soaking the earcups to prevent potential damage to the headphone’s components. Always test in an inconspicuous area before using it on the entire earcup.
Table of Cleaning Supplies and Suitability, How to properly clean headphone earcups
| Cleaning Supply | Material | Suitability |
|---|---|---|
| Microfiber cloth | Microfiber | Good for general cleaning, removing dust, and polishing |
| Cotton swabs | Cotton | Ideal for cleaning small crevices and delicate areas; use with caution |
| Isopropyl alcohol (70% or higher) | Alcohol | Effective for stubborn stains and grime; apply sparingly |
Cleaning Methods and Procedures
Proper headphone earcup cleaning involves a delicate approach tailored to the specific material. Careless handling can lead to scratches, damage, or even discoloration. Understanding the nuances of different cleaning methods is crucial for maintaining the aesthetic and functional integrity of your headphones. This section will detail gentle cleaning methods for various earcup materials, emphasizing the importance of avoiding harsh chemicals or abrasive tools.
Gentle Cleaning Methods for Various Earcup Materials
Different headphone earcup materials necessitate specific cleaning techniques. Plastic earcups, for instance, can tolerate more vigorous cleaning than delicate leather or fabric ones. Using the appropriate method prevents damage and ensures a thorough clean.
Cleaning Delicate Headphone Earcups
Delicate earcups, often found in high-end headphones, demand extra care. These earcups, crafted from materials like leather or fine fabrics, are susceptible to damage from harsh chemicals or abrasive materials. It is imperative to prioritize gentle cleaning techniques to maintain their pristine condition.
Comparison of Cleaning Techniques for Different Materials
| Material | Cleaning Technique | Precautions |
|---|---|---|
| Plastic | Mild soap and water solution, a soft cloth | Avoid excessive scrubbing, ensure thorough drying |
| Leather | Specialized leather cleaner, soft cloth, microfiber cloth | Test cleaner in inconspicuous area first, avoid water immersion |
| Fabric | Mild soap and water solution, soft cloth, air dry | Avoid harsh chemicals, ensure complete drying to prevent mildew |
| Metal | Mild soap and water solution, soft cloth, avoid abrasive materials | Check for any special instructions from the manufacturer |
How to Clean Earcups Without Causing Damage
The key to successful headphone earcup cleaning is a delicate touch. Avoid using harsh chemicals, abrasive materials, or excessive water. Always test any cleaning solution in an inconspicuous area before applying it to the entire earcup. A soft, lint-free cloth is ideal for applying and removing cleaning solutions. Thorough drying is essential to prevent moisture damage and the potential for mildew.
Step-by-Step Procedure for Cleaning Leather Earcups
- Preparation: Gather a specialized leather cleaner, a soft cloth, and a microfiber cloth. Test the cleaner in an inconspicuous area of the leather earcup to ensure compatibility.
- Cleaning: Lightly dampen the soft cloth with the leather cleaner. Gently wipe the leather earcup, ensuring to avoid any harsh scrubbing or circular motions. Focus on any visible dirt or grime. Pay special attention to creases and seams.
- Drying: Wipe the earcup dry with a clean microfiber cloth. Avoid leaving any moisture on the leather, as this can lead to damage. Allow the earcups to air dry completely before putting the headphones back on.
- Maintenance: After cleaning, consider using a leather conditioner to maintain the leather’s suppleness and prevent dryness. Apply the conditioner following the manufacturer’s instructions.
Addressing Specific Cleaning Challenges
Maintaining the pristine condition of your headphones requires attention to detail, especially when dealing with persistent grime and accumulated debris. Proper cleaning techniques are crucial to prolong the lifespan of your headphones and prevent damage to their delicate components. Different headphone types and materials necessitate unique approaches to avoid compromising their structural integrity.Effectively tackling common issues like earwax buildup and stubborn stains necessitates a methodical approach tailored to the specific headphone design.
Understanding the varying materials used in headphone construction—from delicate leather to robust metal—is essential for selecting the right cleaning method. This section details how to address these challenges safely and effectively.
Earwax Buildup
Earwax, a natural substance, can accumulate in headphone earcups, obstructing sound quality and potentially damaging the internal components over time. A buildup of earwax requires a delicate touch to prevent scratches or harm to the headphone’s sensitive parts. Gentle wiping with a damp microfiber cloth, moistened with a few drops of isopropyl alcohol, is often sufficient. Avoid harsh scrubbing, as this can damage the earcups or create further buildup.
Stubborn Stains and Dirt
Stains and dirt can accumulate on headphone earcups due to various factors, including environmental exposure and improper handling. The best approach to removing these is often a combination of cleaning solutions. For stubborn stains, a soft-bristled brush, coupled with a gentle cleaning solution, can be effective. If the stain is particularly persistent, a specialized cleaning agent for the specific material may be necessary.
Consult the manufacturer’s recommendations for the safest approach to stain removal.
Cleaning Different Earcup Types
The cleaning procedure varies slightly depending on the type of headphones. In-ear headphones, due to their compact design, often require a more focused approach. Over-ear headphones, with their larger earcups, typically allow for a wider range of cleaning techniques. Ensure that any cleaning solution is completely evaporated before putting the headphones back in use. For in-ear headphones, use a soft-bristled brush or toothpick to gently remove debris from the ear tips and the inside of the earcups.
Cleaning Earcups Made of Specific Materials
The material of the earcups dictates the cleaning methods that can be used. Leather earcups, for example, require a different approach than metal ones. For leather earcups, a soft, damp cloth and a leather cleaner are recommended. Avoid using harsh chemicals or abrasive materials that could damage the leather’s delicate texture. Metal earcups often benefit from a gentle wipe with a damp microfiber cloth and a specialized cleaning solution for metal, if necessary.
Cleaning Method Comparison
| Cleaning Issue | Cleaning Method | Materials | Procedure |
|---|---|---|---|
| Earwax Buildup | Gentle wiping | Microfiber cloth, isopropyl alcohol | Wipe gently with a damp cloth moistened with a few drops of isopropyl alcohol. Avoid harsh scrubbing. |
| Stubborn Stains | Gentle brushing and cleaning solution | Soft-bristled brush, specialized cleaning solution (if needed) | Gently brush away dirt and stains with a soft-bristled brush. If the stain persists, use a specialized cleaning solution for the material. |
| Leather Earcups | Gentle wiping with leather cleaner | Soft cloth, leather cleaner | Wipe gently with a soft cloth dampened with a leather cleaner. Avoid harsh chemicals or abrasive materials. |
Troubleshooting Common Cleaning Mistakes
Proper headphone earcup cleaning is crucial for maintaining audio quality and extending the lifespan of your headphones. However, some common mistakes can hinder these goals. Understanding these errors and their consequences is key to achieving effective cleaning.Many users unknowingly make errors in their cleaning routines, leading to potential damage or reduced performance. Careful attention to the following details will ensure your cleaning is efficient and safe.
Identifying and Avoiding Harsh Chemicals
Using abrasive cleaners or harsh chemicals can damage the delicate materials used in headphone earcups. Detergents, bleach, or strong solvents can strip protective coatings, potentially leading to discoloration, warping, or even chemical reactions with the earcup materials. This damage can compromise the structural integrity of the earcups, ultimately affecting sound quality and longevity. Instead, always opt for mild, non-abrasive cleaning solutions.
Incorrect Cleaning Techniques
Employing excessive force during cleaning can also cause harm. Vigorous scrubbing or using abrasive materials like steel wool or scouring pads can scratch the surface of the earcups, impacting their aesthetic appeal and possibly introducing points for dirt and debris to accumulate. This can diminish the overall effectiveness of the cleaning process. Always use gentle, circular motions.
Ignoring Debris Buildup
Neglecting to address minor debris buildup can exacerbate cleaning difficulties and lead to more extensive damage in the long run. Accumulated dirt and dust can compact and become firmly lodged, making removal more challenging. This can lead to more intense cleaning procedures in the future, which could cause harm. Addressing the buildup proactively with regular, light cleaning sessions will avoid these issues.
Over-Soaking or Excessive Moisture
Over-soaking headphone earcups in cleaning solutions can damage the internal components, potentially leading to malfunction or distortion in sound quality. Moisture can seep into the mechanisms, corroding sensitive parts or causing irreparable damage to internal components. Always ensure the earcups are thoroughly dried after cleaning, using gentle blotting motions to remove excess moisture.
Do’s and Don’ts for Cleaning Headphones
- Do: Use a soft, lint-free cloth or a specialized headphone cleaning kit.
- Do: Employ gentle, circular motions to clean the earcups.
- Do: Use a mild, non-abrasive cleaning solution.
- Do: Thoroughly dry the earcups after cleaning to prevent moisture damage.
- Don’t: Use abrasive cleaners or harsh chemicals.
- Don’t: Scrub the earcups vigorously.
- Don’t: Submerge the earcups in water or cleaning solutions.
- Don’t: Over-soak the earcups.
- Don’t: Ignore minor debris buildup.
Closing Notes
In conclusion, proper headphone earcup cleaning is vital for maintaining sound quality and extending the lifespan of your audio equipment. By understanding the materials, gathering the right supplies, and following the appropriate cleaning methods, you can effectively maintain your headphones’ cleanliness and performance. This guide provides a thorough overview, equipping you with the knowledge and techniques to keep your headphones in excellent condition.
Answers to Common Questions
What’s the best way to clean earcups made of leather?
Use a soft, damp microfiber cloth to gently wipe away dirt and debris. Avoid harsh chemicals or abrasive materials. For stubborn stains, a small amount of specialized leather cleaner can be used, following the product instructions carefully.
How can I remove earwax buildup from my in-ear headphones?
Gently use a soft-bristled brush or a cotton swab (with extreme caution) moistened with a bit of isopropyl alcohol to dislodge the earwax. Avoid excessive pressure to prevent damage to the headphone’s internal components.
What should I do if my headphones have stubborn stains?
A diluted solution of isopropyl alcohol (70% or higher) can help lift stubborn stains. Apply it sparingly with a microfiber cloth, ensuring not to saturate the earcups. Test in an inconspicuous area first to confirm the solution doesn’t damage the material.
What are some common mistakes to avoid when cleaning my headphones?
Avoid using harsh chemicals, abrasive materials, or excessive force. Don’t submerge your headphones in water. Always test cleaning solutions in a discreet area first to avoid damaging the earcups’ material.